
New System for Egg Incubation
Before I start to describe my new system for incubating killifish eggs, I must state this was not my idea originally, but is an adaption of an article by Tyrone Genade in the Oct-Dec 2020 edition of the Journal of the American Killifish Association (53-4). This article was brought to my attention by Mick Agnew, who sadly is no longer with us after a sudden heart attack and resultant health problems, so my future work with this idea is as a tribute to Mick Agnew.
Tyrone's original article was on "Shipping Non-Annual Killifish Eggs", but I am looking at using his technique in my fishroom to store my own non-annual eggs as it seems to have benefits over storing eggs on damp coir/peat or water incubation.
I used to like the damp coir/peat method as it allowed me to collect eggs over a few days but when they were ready ("eyed-up") and I added water to the container, they would all hatch at nearly the same time. I then ran "foul" of reusing the container of coir/peat for several hatchings (always the same species) and the quality of the coir/peat deteriorated and a lot of the eggs fungussed. Therefore for a short period I have been using water incubation with mixed results, but unfortunately the fry hatch over a period of several days.
All you need for this system is some petri dishes, cotton wool pads, incubating solution (see below) and a small pipette.
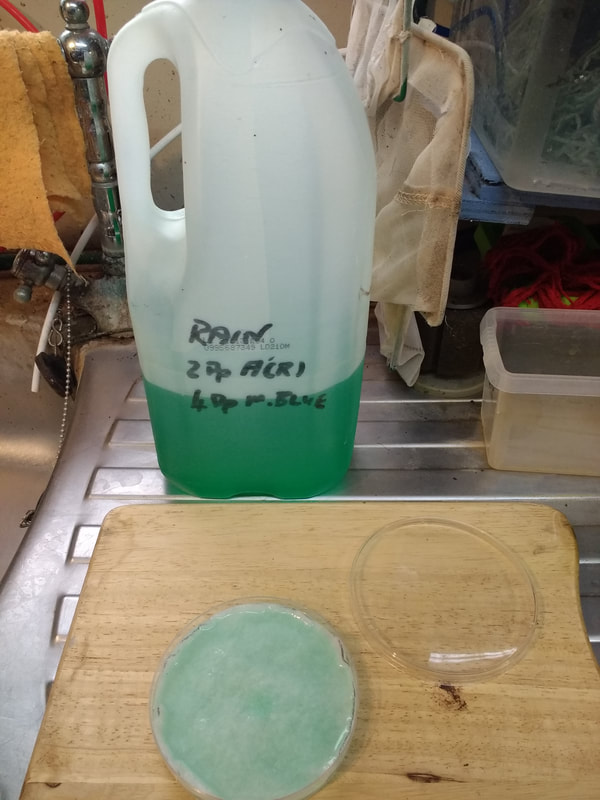
My incubating solution is basically cooled, but previously boiled, rainwater to which acriflavine and methylene blue have been added. As previously mentioned in one of the "Blog - Comments", I came across this "cocktail" in 2020 when watching a video of a visit to Jack Heller's fishroom that someone (apologises for not remembering who) had put up onto Youtube. My mixture is made in a 4 pint (2.25 litre) plastic milk container, filled with rainwater, to which 2 drops of acriflavine and 4 drops of methylene blue is added. This results in a lovely soft green colour.
Step one, is to collect the eggs and place them in a container of incubating solution for a few days. This allows more eggs to be collected in the following days if required. Also any eggs that quickly absorb the colour are unfertilised and can be easily seen and removed with the pipette before they fungus. After a few days the eggs are ready for the next step.
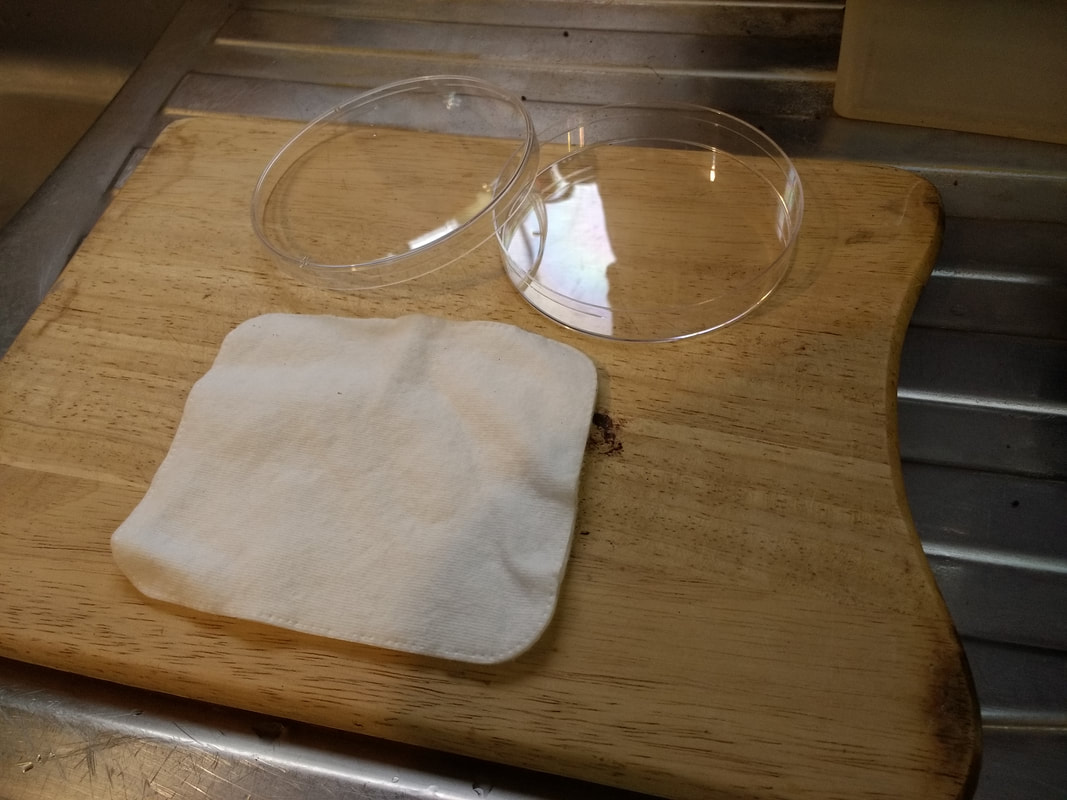
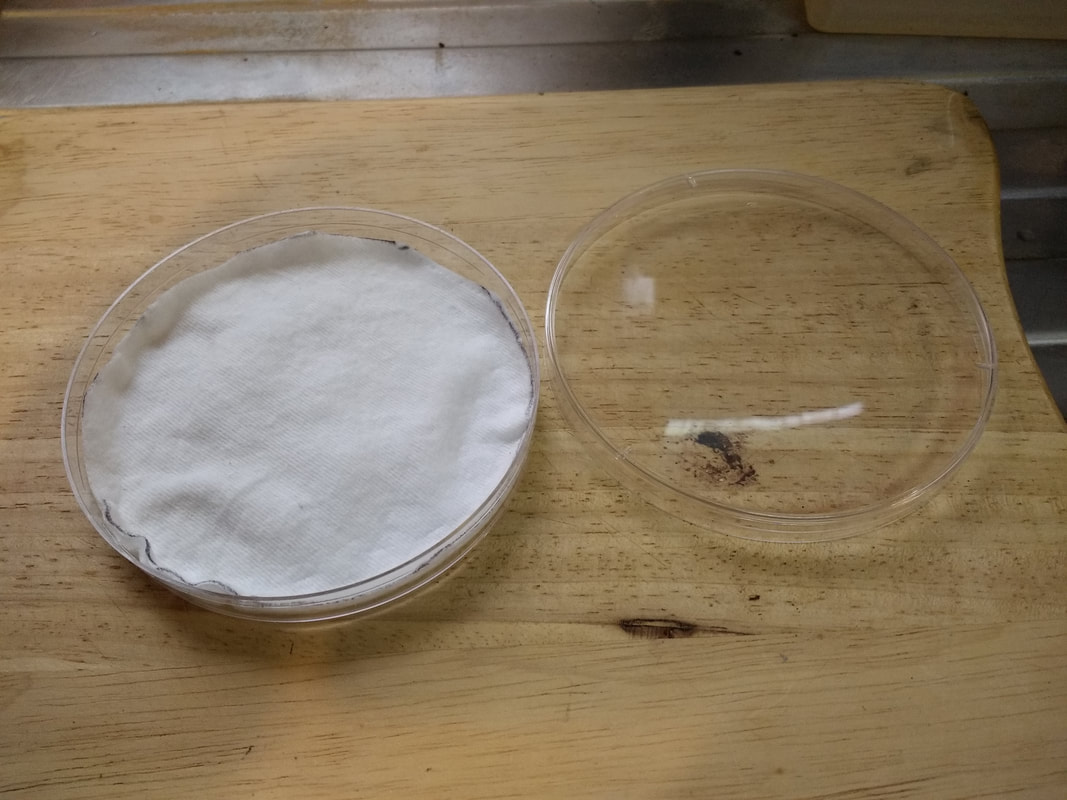
Step two, is to cut the cotton pad to roughly the same size as the petri dish and this is easily done with a scissors (see below). I already had a number of plastic petri dishes available from a previous experiment many years ago and kept in the garage with all the other "bits and bobs" that may be useful one day. Well these petri dishes were approx. 90mm in diameter, so I ordered some large cotton pads from Amazon (£5.35 for 80) that were roughly the correct size. They were easily cut to shape with a scissor after making the outline, using the base of the petri dish as a template.
Tyrone's original article was on "Shipping Non-Annual Killifish Eggs", but I am looking at using his technique in my fishroom to store my own non-annual eggs as it seems to have benefits over storing eggs on damp coir/peat or water incubation.
I used to like the damp coir/peat method as it allowed me to collect eggs over a few days but when they were ready ("eyed-up") and I added water to the container, they would all hatch at nearly the same time. I then ran "foul" of reusing the container of coir/peat for several hatchings (always the same species) and the quality of the coir/peat deteriorated and a lot of the eggs fungussed. Therefore for a short period I have been using water incubation with mixed results, but unfortunately the fry hatch over a period of several days.
All you need for this system is some petri dishes, cotton wool pads, incubating solution (see below) and a small pipette.
My incubating solution is basically cooled, but previously boiled, rainwater to which acriflavine and methylene blue have been added. As previously mentioned in one of the "Blog - Comments", I came across this "cocktail" in 2020 when watching a video of a visit to Jack Heller's fishroom that someone (apologises for not remembering who) had put up onto Youtube. My mixture is made in a 4 pint (2.25 litre) plastic milk container, filled with rainwater, to which 2 drops of acriflavine and 4 drops of methylene blue is added. This results in a lovely soft green colour.
Step one, is to collect the eggs and place them in a container of incubating solution for a few days. This allows more eggs to be collected in the following days if required. Also any eggs that quickly absorb the colour are unfertilised and can be easily seen and removed with the pipette before they fungus. After a few days the eggs are ready for the next step.
Step two, is to cut the cotton pad to roughly the same size as the petri dish and this is easily done with a scissors (see below). I already had a number of plastic petri dishes available from a previous experiment many years ago and kept in the garage with all the other "bits and bobs" that may be useful one day. Well these petri dishes were approx. 90mm in diameter, so I ordered some large cotton pads from Amazon (£5.35 for 80) that were roughly the correct size. They were easily cut to shape with a scissor after making the outline, using the base of the petri dish as a template.
|
|
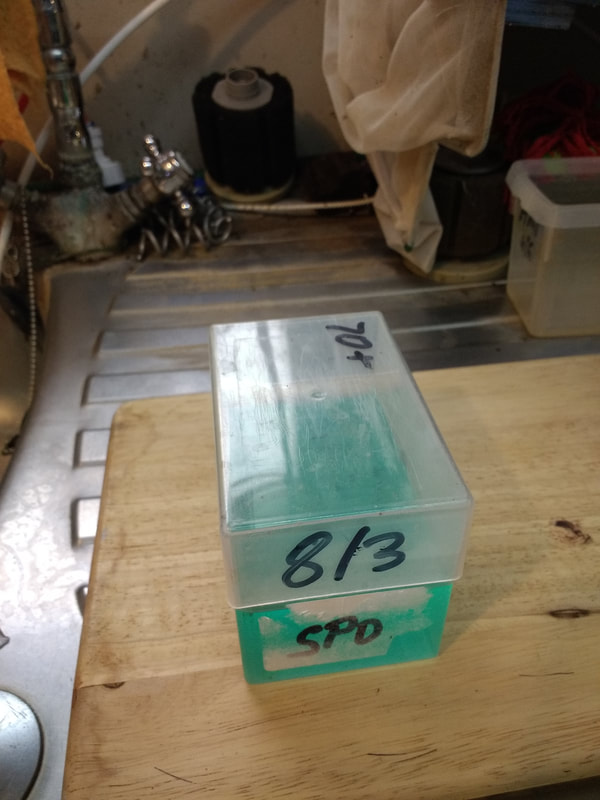
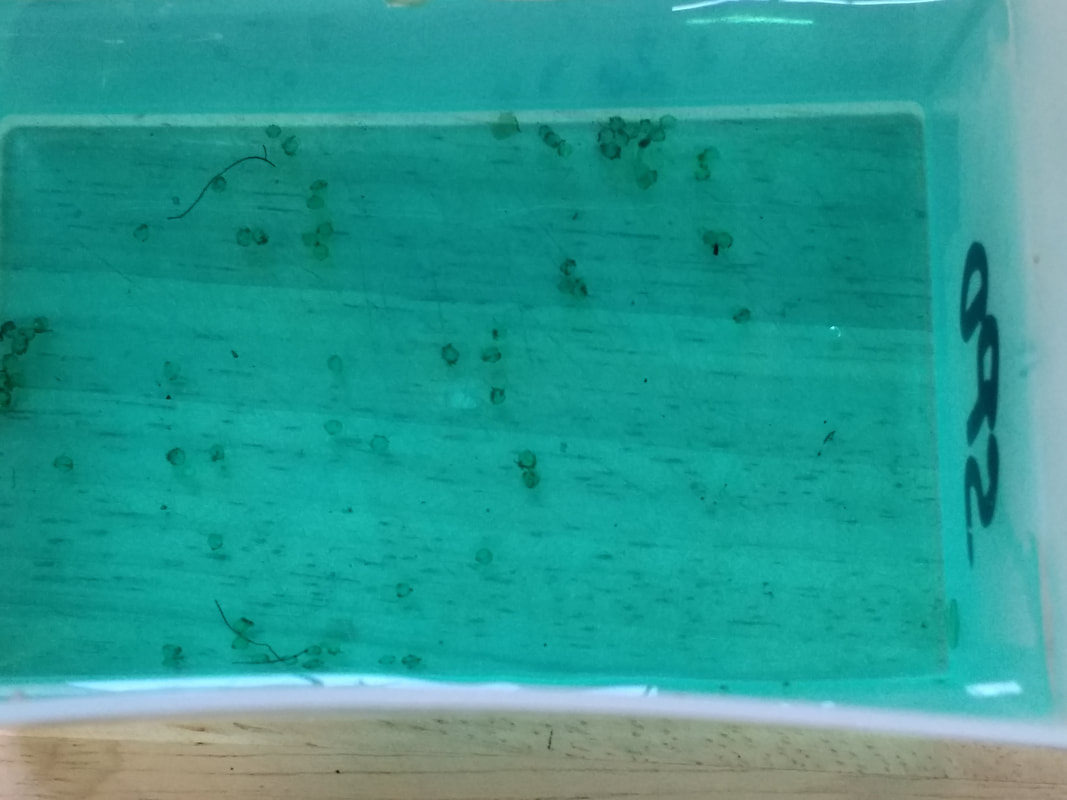
Step three, is to wet the cotton pad with the incubating solution (isn't it a nice green colour?). Just two days previously I had collected a large batch of Fundulopanchax spoorenbergi eggs that I thought would be ideal to use to test the system. These square containers were the ones I have been using for water incubation, so still are useful with the new system.
|
|
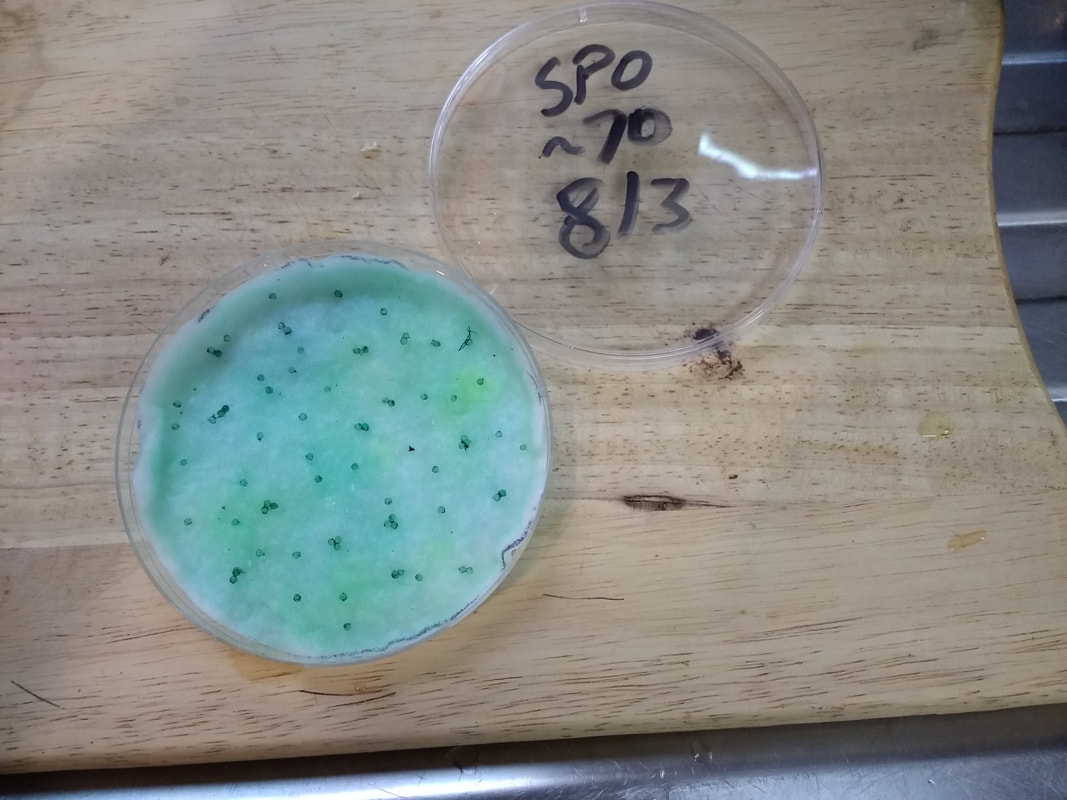
When I checked the eggs, except for a couple that I removed using the small pipette, they were mainly all in a good condition. The eggs were transferred to the petri dish, again using the pipette, and trying to take as little of the solution as possible. Try to take the eggs individually and place them apart on top of the cotton pad. Excess solution in the petri dish, which will happen, can either be carefully decanted or easier if you use the pipette to remove the excess. Remember to label the lid, with species name (or abbreviation), date collected and maybe number of eggs as this will be useful later on for doing comparisons on the effectiveness of the system.
|
|
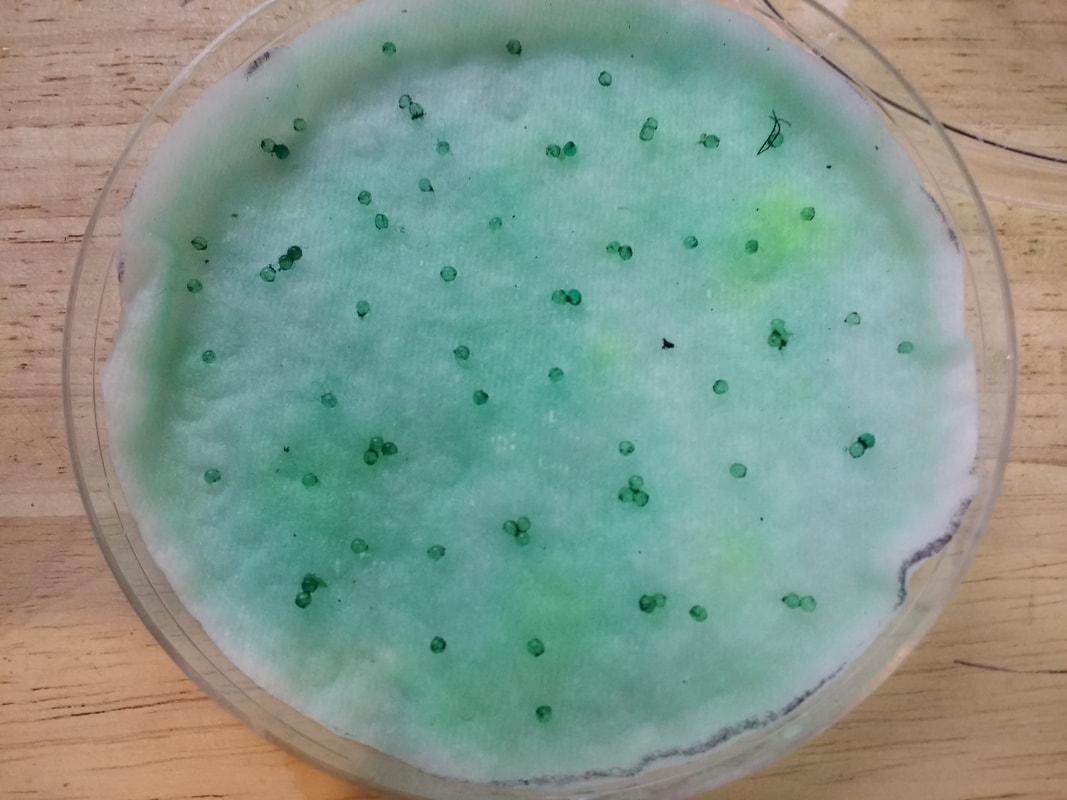
If anyone would like to count the eggs, then a close-up image is shown below.
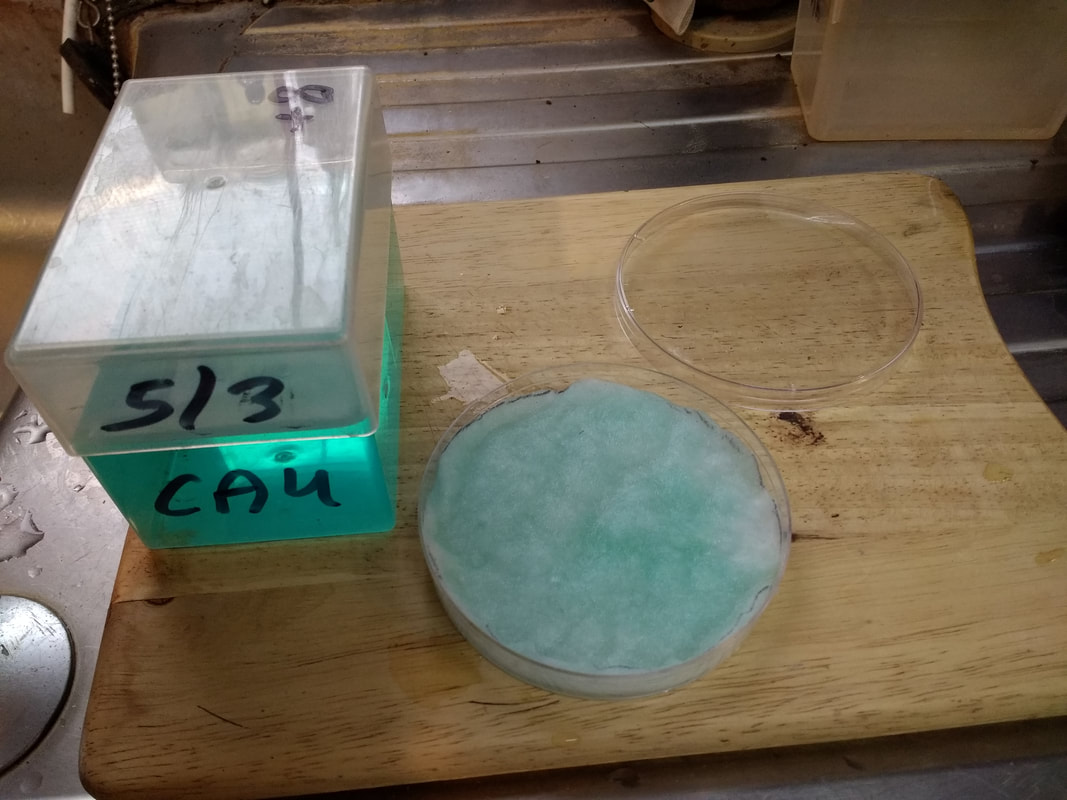
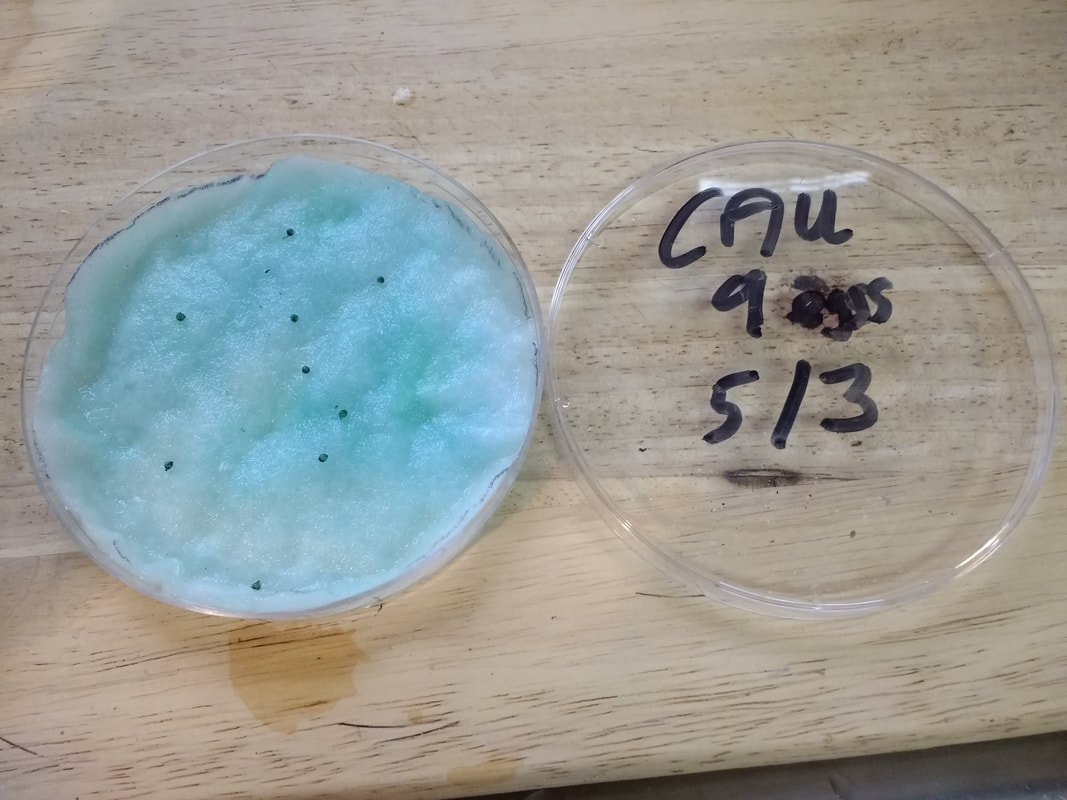
My next experiment was with some Scritaphyosemion cauveti eggs that I had collected 5 days previously.
My next experiment was with some Scritaphyosemion cauveti eggs that I had collected 5 days previously.
|
|
I had not collected from these fish for some time, so the eggs had already started to develop on the mops in the tank, as can be see in the following two pictures. Again the lid was labeled with species name, date collected and number of eggs. The eagle-eyed among you may note that the original container stated that 8 eggs were collected, when in reality it was 9 (just lost the count somewhere).
|

|
After a few weeks i will take some more photos, to show what happened before I wet the eggs.
Now Tyrone's article stated that once the eggs have been collected as above, another piece of cotton wool padding (pre-soaked) can be placed on top of the eggs which will hold them safe for transit. The petri dish can then be sealed around the circumference using some sort of tape, and posted to other killifish enthusiasts in a padded bag. The petri dish will stop the eggs from getting squashed and if any should fungus they should not pollute the other good eggs.
