
New Fry System (recirculating)
As previously mentioned in the comments section (10/11/20), I must admit that I have been watching a lot of videos on Youtube over the last 7 months, what with all the Covid problems limiting movement in 2020, and I saw a great film about "Master Breeder Dean's" fishroom, especially his fry rearing setup. So I have been thinking on how I might adapt his ideas and fit it into my fishroom, as I did not want to lose a tank for the reservoir/sump like he was using. After a few ideas that I discarded as impractical, I have have now finalised a plan and will be building my system and taking some pictures to illustrate this article.
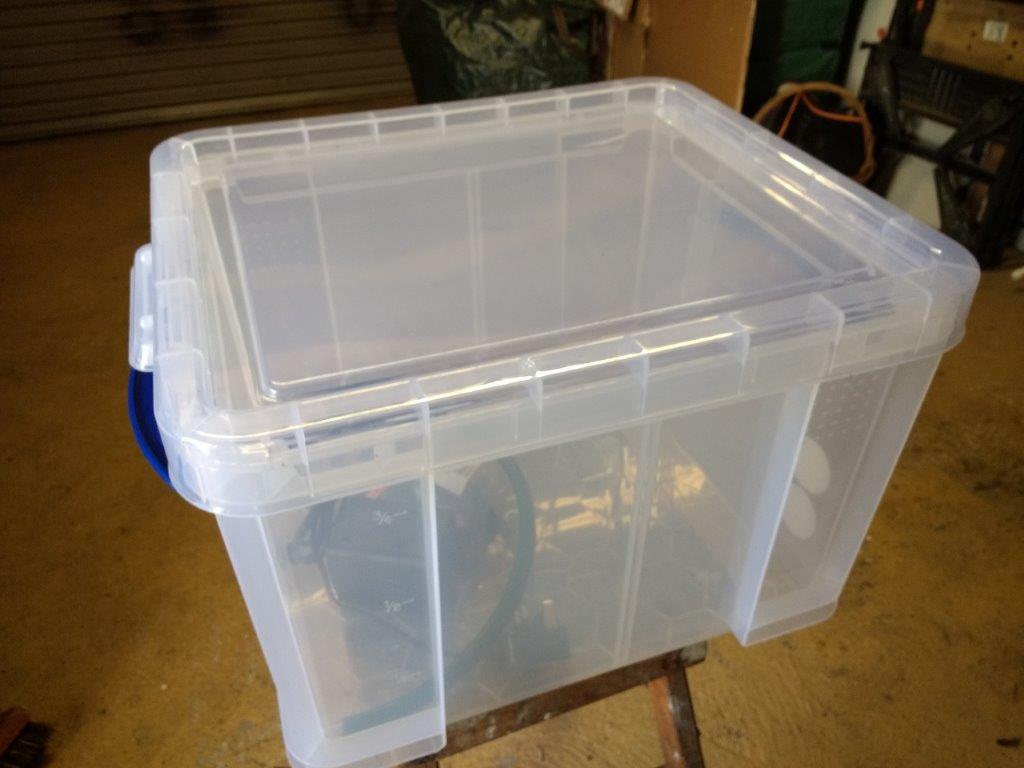
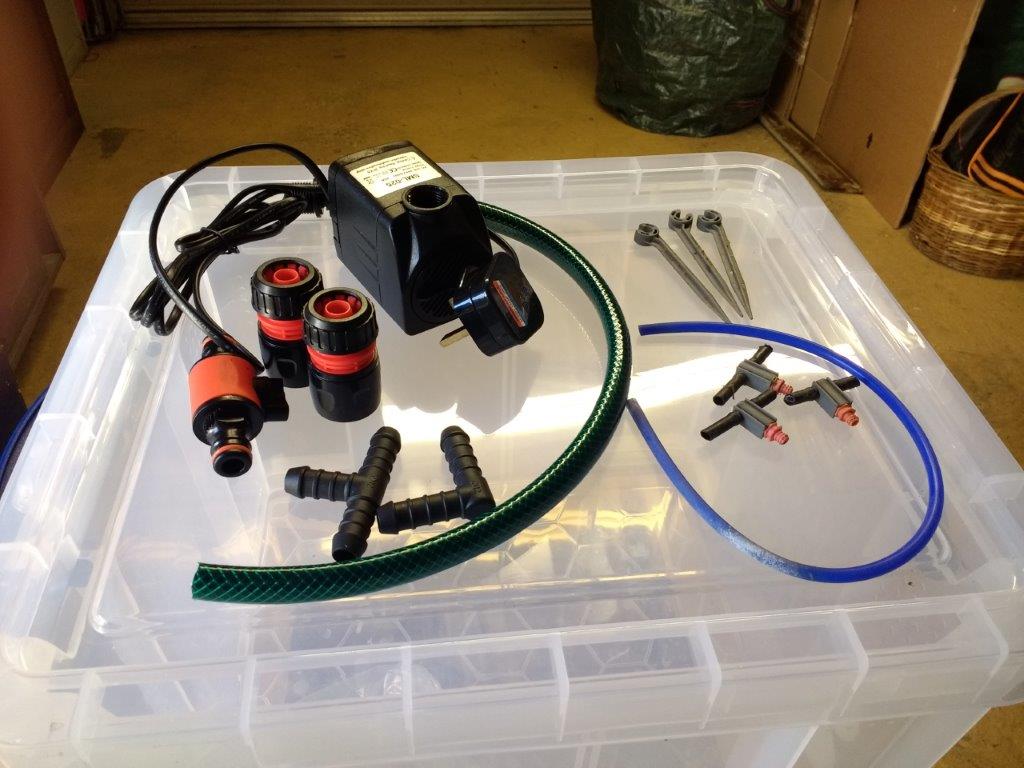
So I have started with a 35 litre "Really Useful" plastic container (see below), but the 2 main criteria for choosing this type was that it would fit in the available space, and that it had an inset lid (the requirement for this will become clearer later on). Other items I required was a sump pump that had a 12mm connection, some 12mm (half inch) garden hose, some hose connections that included a valve, 12mm T-piece and elbow, some 4mm silicon air-tubing, and some irrigation drip emitters and fixing spikes. A lot of these items I had already in my garage, and were not being used, so the items I had to buy was limited (always a good thing for a project - as long as it works).
So I have started with a 35 litre "Really Useful" plastic container (see below), but the 2 main criteria for choosing this type was that it would fit in the available space, and that it had an inset lid (the requirement for this will become clearer later on). Other items I required was a sump pump that had a 12mm connection, some 12mm (half inch) garden hose, some hose connections that included a valve, 12mm T-piece and elbow, some 4mm silicon air-tubing, and some irrigation drip emitters and fixing spikes. A lot of these items I had already in my garage, and were not being used, so the items I had to buy was limited (always a good thing for a project - as long as it works).
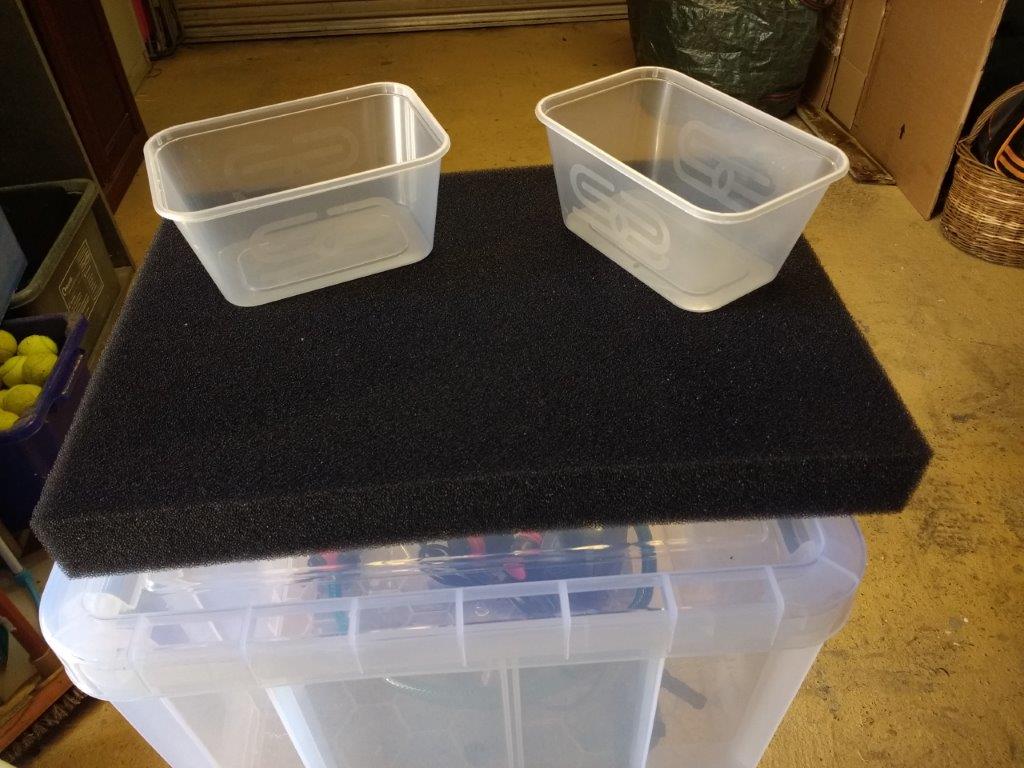
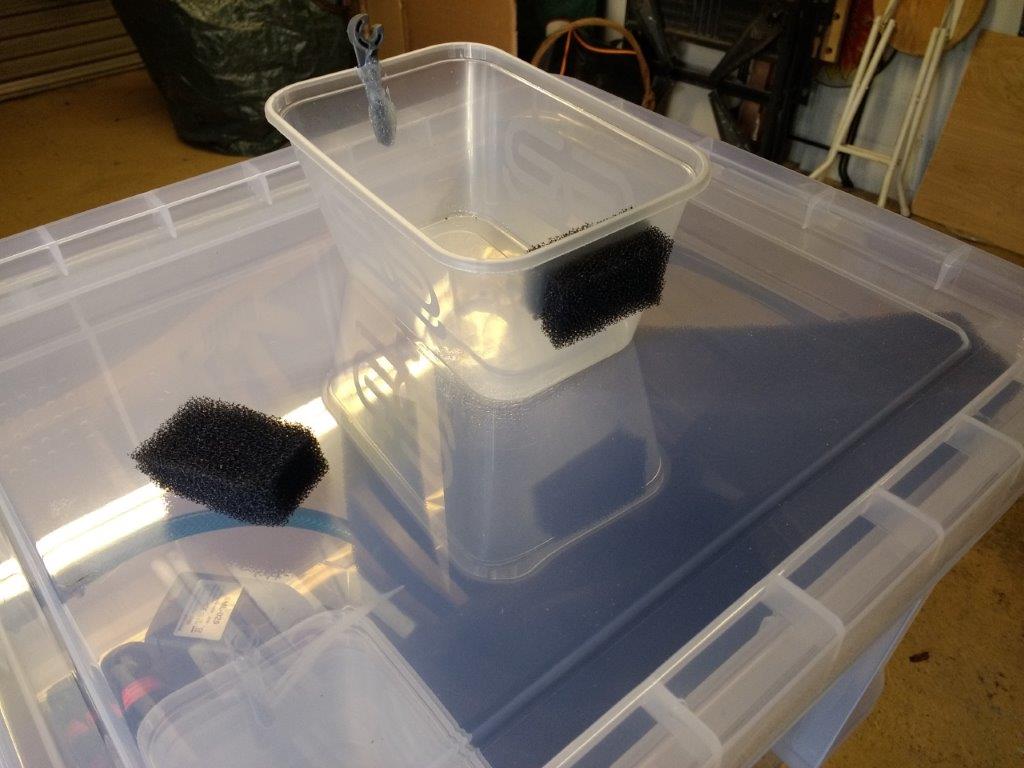
Some additional items I needed was some small plastic containers that will hold the fry (see photo on right). Luckily our favourite Chinese take-away supplies their Spare Ribs in the correct size that I needed. What hardships we are willing to put ourselves through for our hobby.
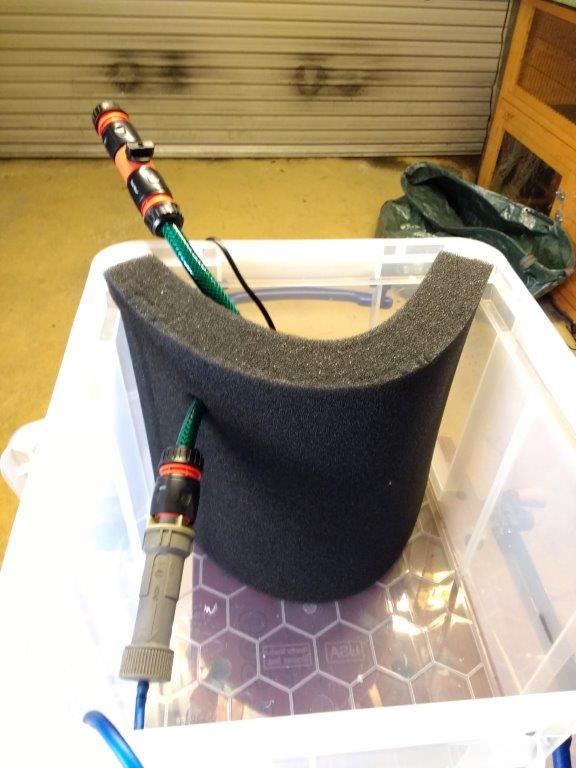
Last thing is a 50mm thick sheet of Poret Foam, that is large enough to tightly fit across the inside of the box. Basically I am making a Matten Filter to keep the recirculating water as clean as possible. I had to cut approx. 2.5cm off the width, so that I could close the lid, but still have a tight fit in order to help to keep it in position. I do have some sintered glass filtration rings, but not sure if I will add these to the sump or not. |
|
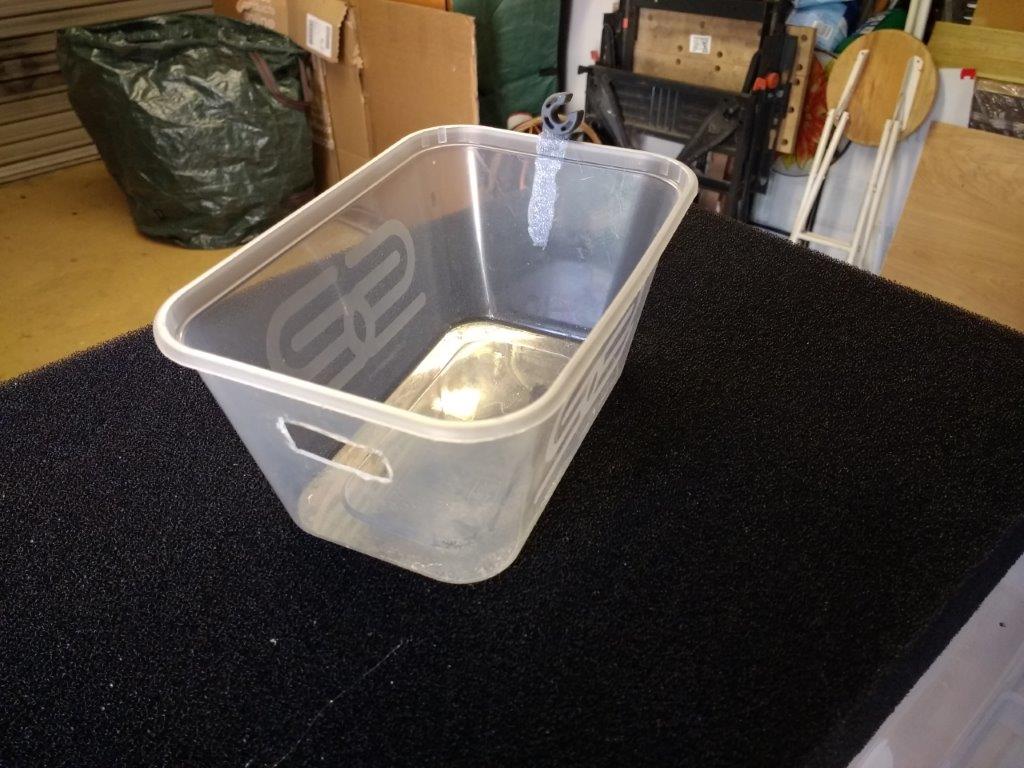
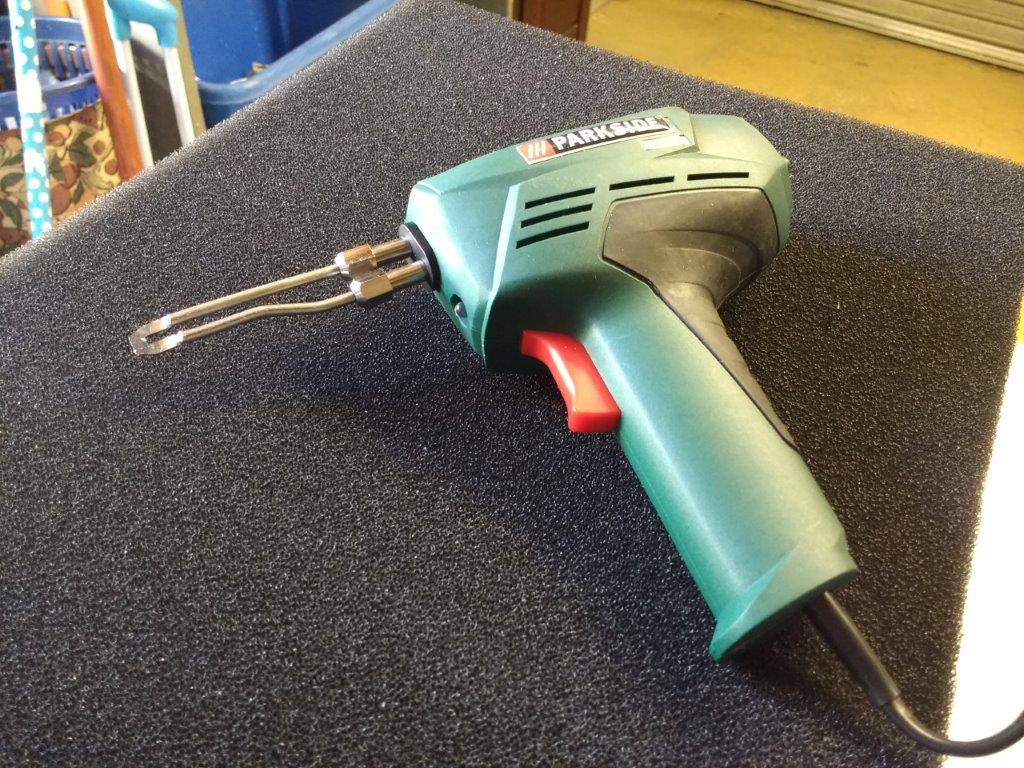
So first of all I cut out a rectangle slot at one end in the fry containers about three quarters up from the base (see photo below). To do this I used my soldering iron, with the flat bit, as it makes a very neat job, and much better than trying to use a drill and hacksaw or even cutting the plastic with a sharp knife. Of course, the soldering iron was purchased from Lidls some time ago, and I know that a certain old BKA member would be pleased to see that Lidl's items were still being of use to the hobby.
I used the off-cut from my Poret foam sheet, and cut some 2cm blocks. I then used a sharp knife to cut a slot in the centre of the thin edge of the block and all round the circumference.
It was then very easy to fit the foam into the pre-cut slots on the fry containers (see picture on the right). The slot will be the overflow from the container, and the pieces of foam will hopefully stop the fry from being carried over into the sump. |
|
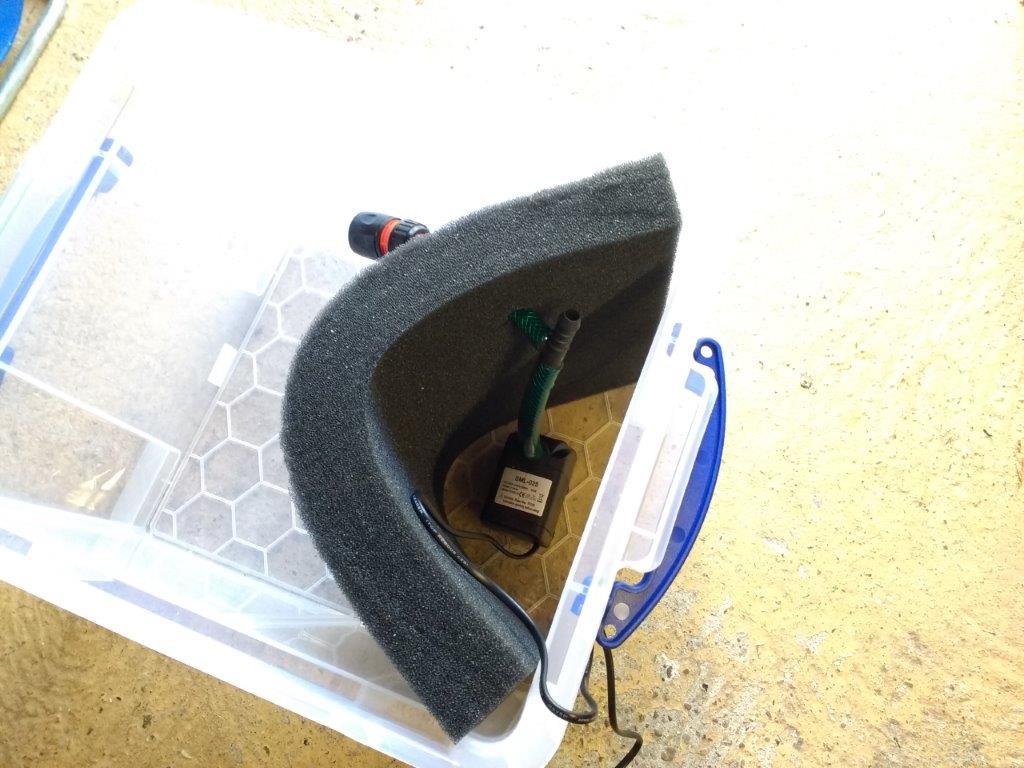
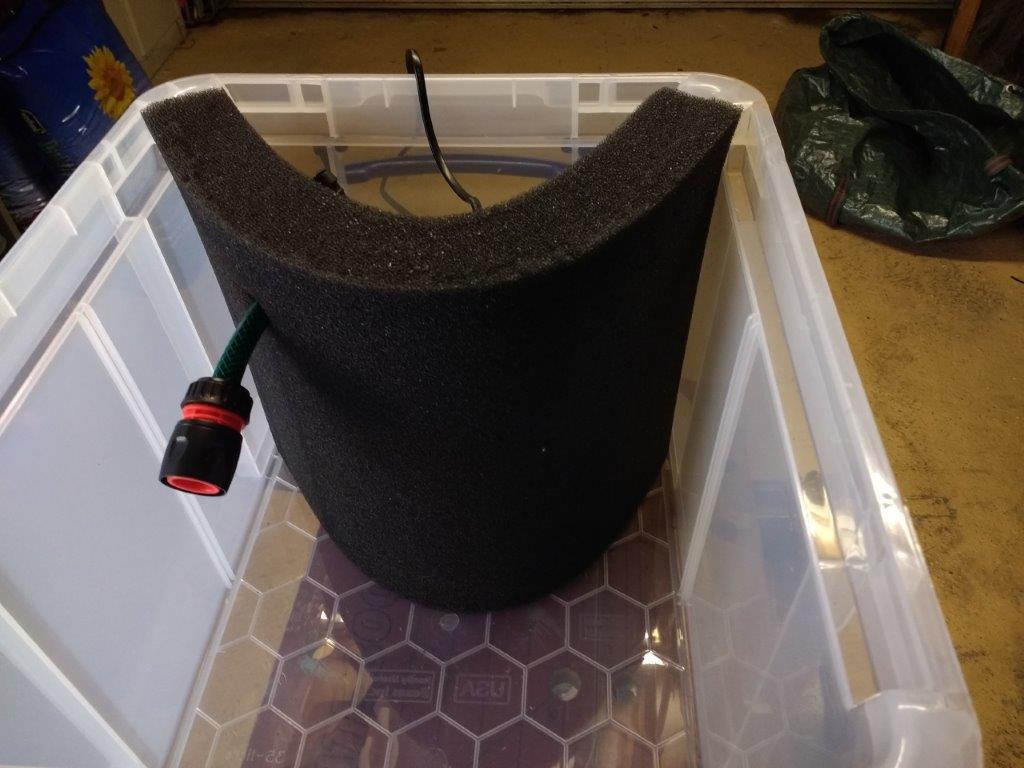
The pictures below show the sump pump and Poret foam piece already fitted into the corners. I cut a small slot into the foam and pushed a piece of garden hose through which ends in a quick-fit connector.
|
|
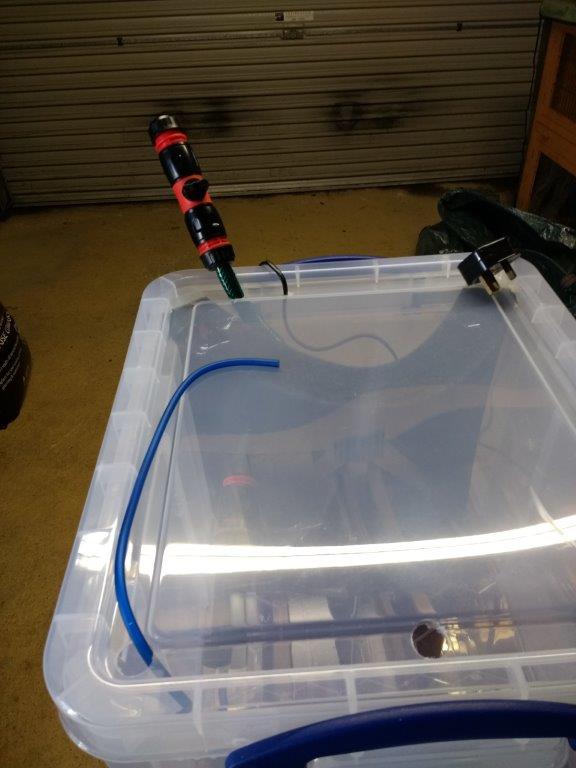
The 2 photos below show basically the same thing, one without the lid that clearly shows the drip irrigation filter (which hopefully will not be needed as the Matten Filter should keep the recirculating water very clean, but it also is a reducer from the 12mm garden hose to 4mm tubing. The other shows the fitted lid that has been clipped into position and will be how the sump looks in operation.
The hose and quick-fit connectors, including a valve, that comes vertically out of the sump, will be connected via a length of garden hose to my sink in the fishroom. This will allow me to easily discard a certain amount of water from the sump, and replace it with fresh water of a similar quality, without having to remove the lid.
The hose and quick-fit connectors, including a valve, that comes vertically out of the sump, will be connected via a length of garden hose to my sink in the fishroom. This will allow me to easily discard a certain amount of water from the sump, and replace it with fresh water of a similar quality, without having to remove the lid.
|
|
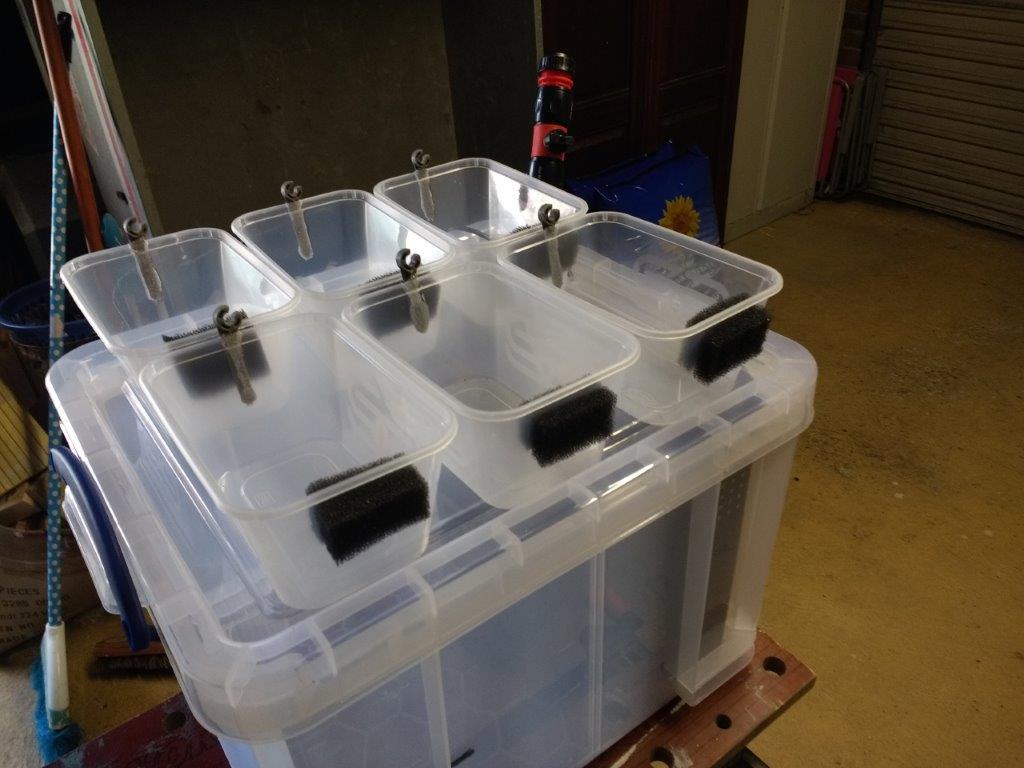
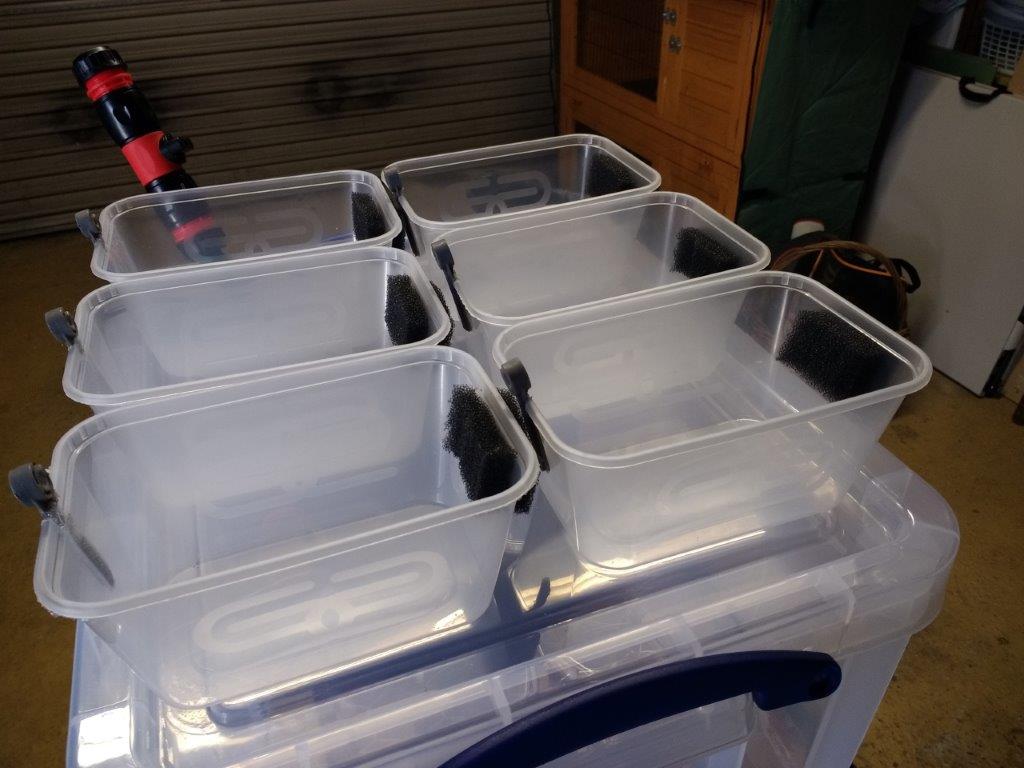
These next 2 photos show the fry containers in place onto of the lid, but the drip emitters have not been connected as yet. The water from the overflows on the fry containers will fall onto the lid and run through the drilled holes (easier to see on the previous photo) in the outer gutter back into the sump.
|
|
So the project is nearly complete, but have a few alterations to make in the fishroom before it can be fitted.
